Chicken breast is one of the most popular cuts of meat for its versatility and health benefits. However, many people find it challenging to remove the tendon from the chicken breast, which can affect the texture and taste of their dishes. Learning how to properly remove the tendon is essential for cooking a perfect chicken breast every time. This guide will walk you through the process step by step, ensuring you achieve professional-quality results at home.
Whether you're a beginner cook or a seasoned chef, understanding how to remove tendons from chicken breasts can elevate your culinary skills. The tendon, often referred to as the "tendon strip," is a tough, sinewy part of the chicken breast that can make the meat chewy if not removed. By learning the right techniques, you can ensure your chicken dishes are tender and delicious.
This article will provide you with a detailed explanation, helpful tips, and practical advice on how to get the tendon out of chicken breast effectively. We'll also cover essential cooking techniques and tricks to make your chicken breast preparation easier and more enjoyable.
Read also:Unleash The Horror Ash Vs Evil Dead A Supernatural Showdown
Table of Contents
- Biography (if applicable)
- Introduction to Chicken Breast Tendons
- Tools You Need for Removing Tendons
- Step-by-Step Guide to Remove Tendons
- Common Mistakes to Avoid
- Alternative Methods for Removing Tendons
- Health Benefits of Removing Tendons
- Cooking Tips for Chicken Breasts
- Frequently Asked Questions
- Conclusion and Call to Action
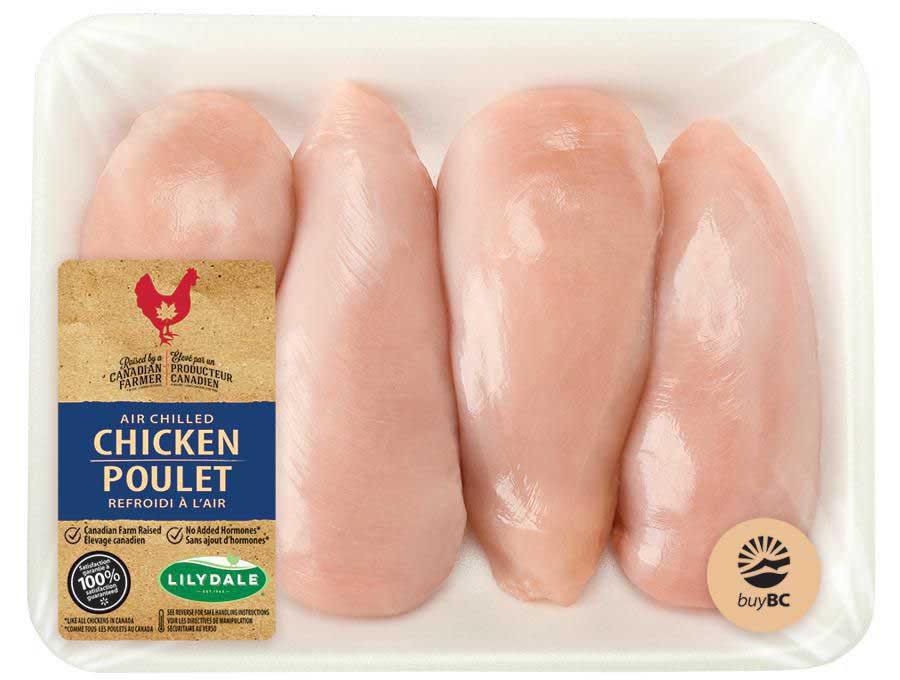
Introduction to Chicken Breast Tendons
The tendon in a chicken breast is a fibrous, connective tissue that helps attach muscles to bones. While it may seem insignificant, leaving the tendon intact can significantly impact the texture of your cooked chicken. Understanding what tendons are and why they need to be removed is the first step in mastering this technique.
Why Remove the Tendon?
Removing the tendon from a chicken breast is crucial for several reasons:
- It improves the tenderness of the meat.
- It enhances the overall taste and texture of your dishes.
- It ensures uniform cooking, preventing certain parts of the chicken from being overcooked or undercooked.
By eliminating the tendon, you can achieve a more consistent and enjoyable dining experience.
Tools You Need for Removing Tendons
Before you begin, it's essential to gather the right tools to make the process easier and more efficient. Here's what you'll need:
Sharp Knife
A sharp knife is critical for precision. A boning knife or a paring knife works best for this task. Ensure your knife is clean and sharp to avoid any accidents.
Cutting Board
A sturdy cutting board provides a stable surface for cutting and ensures safety. Avoid using plastic cutting boards, as they can dull your knife over time.
Read also:Seminole Happenings Your Ultimate Guide To Exploring Seminole Events And Activities
Clean Workstation
Having a clean and organized workstation is essential for food safety and ease of preparation. Wash your hands and sanitize all surfaces before starting.
Step-by-Step Guide to Remove Tendons
Now that you have your tools ready, let's dive into the step-by-step process of removing the tendon from a chicken breast:
Step 1: Inspect the Chicken Breast
Start by examining the chicken breast carefully. The tendon is usually located along the side of the breast, running parallel to the meat. It appears as a thin, whitish strip.
Step 2: Locate the Tendon
Once you've identified the tendon, gently press your fingers along its length to confirm its location. This will help you determine where to begin cutting.
Step 3: Make the First Cut
Using your sharp knife, make a small incision at one end of the tendon. Be cautious not to cut too deep into the meat.
Step 4: Slide the Knife
With the tip of your knife, gently slide it along the tendon, separating it from the meat. Use a sawing motion to ensure a clean cut.
Step 5: Remove the Tendon
Once you've separated the tendon from the chicken breast, carefully lift it out and discard it. Your chicken breast is now ready for cooking.
Common Mistakes to Avoid
While removing the tendon from a chicken breast is a straightforward process, some common mistakes can make it more challenging. Here are a few to watch out for:
Using a Dull Knife
A dull knife can make the task more difficult and increase the risk of injury. Always ensure your knife is sharp before starting.
Cutting Too Deep
Cutting too deep into the chicken breast can result in losing valuable meat. Stick to the tendon and avoid cutting into the surrounding flesh.
Not Inspecting Carefully
Some chicken breasts may have more than one tendon. Inspect the breast thoroughly to ensure you've removed all the tendons.
Alternative Methods for Removing Tendons
While the step-by-step method outlined above is the most common, there are alternative techniques you can try:
Using Kitchen Shears
Some cooks prefer using kitchen shears to snip away the tendon. This method can be quicker and more efficient for those who find using a knife challenging.
Freezing the Chicken
Another approach is to partially freeze the chicken breast. This makes the tendon more rigid and easier to locate and remove.
Health Benefits of Removing Tendons
Removing the tendon from a chicken breast offers several health benefits:
Improved Digestibility
Tendons are tough and fibrous, making them harder to digest. By removing them, you ensure your meal is easier on your digestive system.
Enhanced Nutritional Value
Without the tendon, the chicken breast retains its nutritional value, providing essential protein and vitamins without the added toughness.
Cooking Tips for Chicken Breasts
Once you've removed the tendon, here are some tips to cook your chicken breast perfectly:
Marinate for Flavor
Marinating your chicken breast in your favorite sauce or seasoning can add depth and flavor to your dish.
Use Low Heat
Cooking the chicken breast on low heat ensures it stays juicy and tender, preventing it from drying out.
Rest Before Serving
Allow your chicken breast to rest for a few minutes after cooking. This allows the juices to redistribute, resulting in a more flavorful bite.
Frequently Asked Questions
Here are some common questions people have about removing tendons from chicken breasts:
Q: Can I skip removing the tendon?
A: While it's possible to cook chicken with the tendon intact, it may result in a chewy texture. Removing the tendon ensures a more tender and enjoyable eating experience.
Q: What tools are best for this task?
A: A sharp boning knife and a sturdy cutting board are the best tools for removing tendons from chicken breasts.
Q: How can I tell if I've removed all the tendons?
A: Carefully inspect the chicken breast after removal. If you notice any remaining fibrous strips, repeat the process until all tendons are gone.
Conclusion and Call to Action
In conclusion, learning how to get the tendon out of chicken breast is an essential skill for anyone who enjoys cooking at home. By following the step-by-step guide outlined in this article and avoiding common mistakes, you can achieve professional-quality results every time.
We encourage you to try these techniques and share your experience in the comments below. For more tips and tricks on cooking delicious meals, explore our other articles on the website. Happy cooking!